The Northern Lights, or Aurora Borealis, are one of nature’s most mesmerizing spectacles. If you’re traveling to Lapland, you’ll want to capture this ethereal beauty in its full glory. However, photographing the auroras requires a bit of skill and preparation. In this guide, we’ll walk you through the best tips and techniques to help you take incredible Northern Lights photos in Lapland. ✨
1. Choose the Right Camera Gear
To capture the vibrant colors and dynamic movement of the auroras, you’ll need the right equipment:
- 📷 Camera: A DSLR or mirrorless camera with manual settings is ideal.
- 🔭 Lens: A wide-angle lens with a large aperture (f/2.8 or lower) will let in more light.
- 📌 Tripod: Essential for long exposure shots to prevent blur.
- 🎮 Remote Shutter Release: Helps avoid camera shake during long exposures.
- 🔋 Extra Batteries: Cold temperatures drain batteries quickly, so bring spares.
2. Find the Perfect Location
Lapland is one of the best places in the world to witness the Northern Lights. To enhance your photography experience:
- 🌃 Stay away from city lights for minimal light pollution.
- ❄️ Head to open areas with reflective surfaces like lakes or snow-covered landscapes for dramatic effects.
- 🚗 Consider booking a guided aurora photography tour for expert advice on locations.
3. Optimize Your Camera Settings
Shooting the Northern Lights requires adjusting your camera settings manually. Here are the best settings to start with:
- 🌌 ISO: Set between 800 and 3200, depending on brightness.
- 🔦 Aperture: Use the widest setting (f/2.8 or lower) to let in maximum light.
- ⏳ Shutter Speed: Start with 5-15 seconds; adjust based on aurora movement.
- 🔍 Focus: Set manually to infinity to ensure sharp images.
- 🎨 White Balance: Adjust to around 3500K for natural-looking colors.
4. Use the Right Composition Techniques
While capturing the auroras is the goal, composing your shot well makes a huge difference:
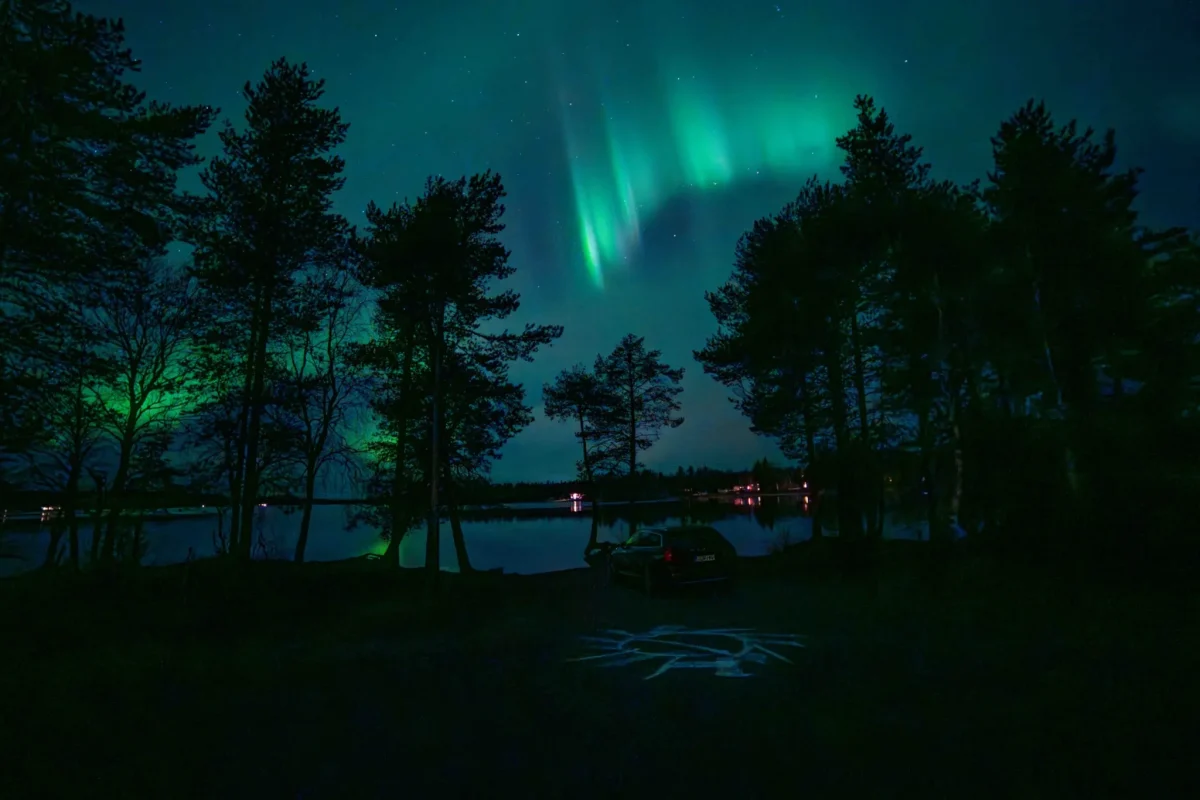
- 🌲 Include foreground elements like trees, mountains, or cabins for scale and depth.
- 📏 Rule of Thirds: Position the auroras in the upper two-thirds of the frame for a balanced composition.
- 💧 Reflections: If near water, use reflections to double the impact of the lights.
5. Plan for the Best Conditions
The best Northern Lights photography in Lapland happens under ideal conditions:
- 🌑 Dark, clear skies: Avoid full moon nights and seek cloud-free weather.
- 📡 High solar activity: Use apps like Aurora Forecast to check aurora strength.
- 🧥 Cold but dry weather: Dress warmly but ensure your gear stays dry.
6. Post-Processing Tips
Enhancing your Northern Lights photos in post-processing can make them stand out:
- 🔄 Adjust contrast and brightness to highlight aurora colors.
- ❌ Reduce noise, especially if using a high ISO.
- 🖊️ Fine-tune sharpness for crisp stars and landscape details.
7. Book a Northern Lights Photography Tour
If you want expert guidance and access to the best locations, consider booking a Northern Lights photography tour in Lapland. These tours provide:
- 👨🏫 Professional tips from experienced photographers.
- 🚐 Transportation to prime aurora-viewing spots.
- 🎯 Assistance with camera settings and composition.
Final Thoughts
Photographing the Northern Lights in Lapland is an unforgettable experience. With the right gear, settings, and location, you can capture breathtaking images of this celestial wonder. Plan your trip, prepare your equipment, and don’t forget to enjoy the moment while you shoot! 🌠